Restricting certain programs on a shared PC helps protect both the device and its users. By limiting access to specific applications, you reduce the risk of accidental system changes, malware infections, and unauthorized data access. This is especially important in homes, schools, and workplaces where multiple people use the same computer.
Program restrictions also improve productivity by preventing access to distracting or non-essential software. For parents and administrators, it provides better control over what users can install or run, helping maintain a secure, stable, and organized system. Overall, restricting programs keeps a shared PC safer, more efficient, and easier to manage.
Here are the steps to restrict programs/software on a Windows 11 machine:
You can have this system set up in a non administrative account in Windows 11. An account that has limited access rights.
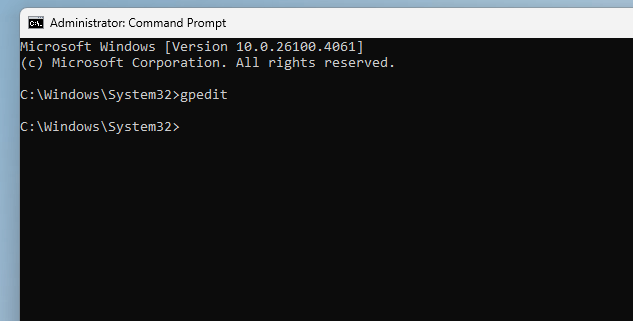
In the account, open CMD with admin rights.
In CMD, type in gpedit
Go to the following menu path in the group policy editor:
User configuration/Administrative Template/System/”Don’t Run Specified Windows Application”

Type in the program in “List of disallowed applications”

For example, for Microsoft edge you would type in msedge.exe in the list